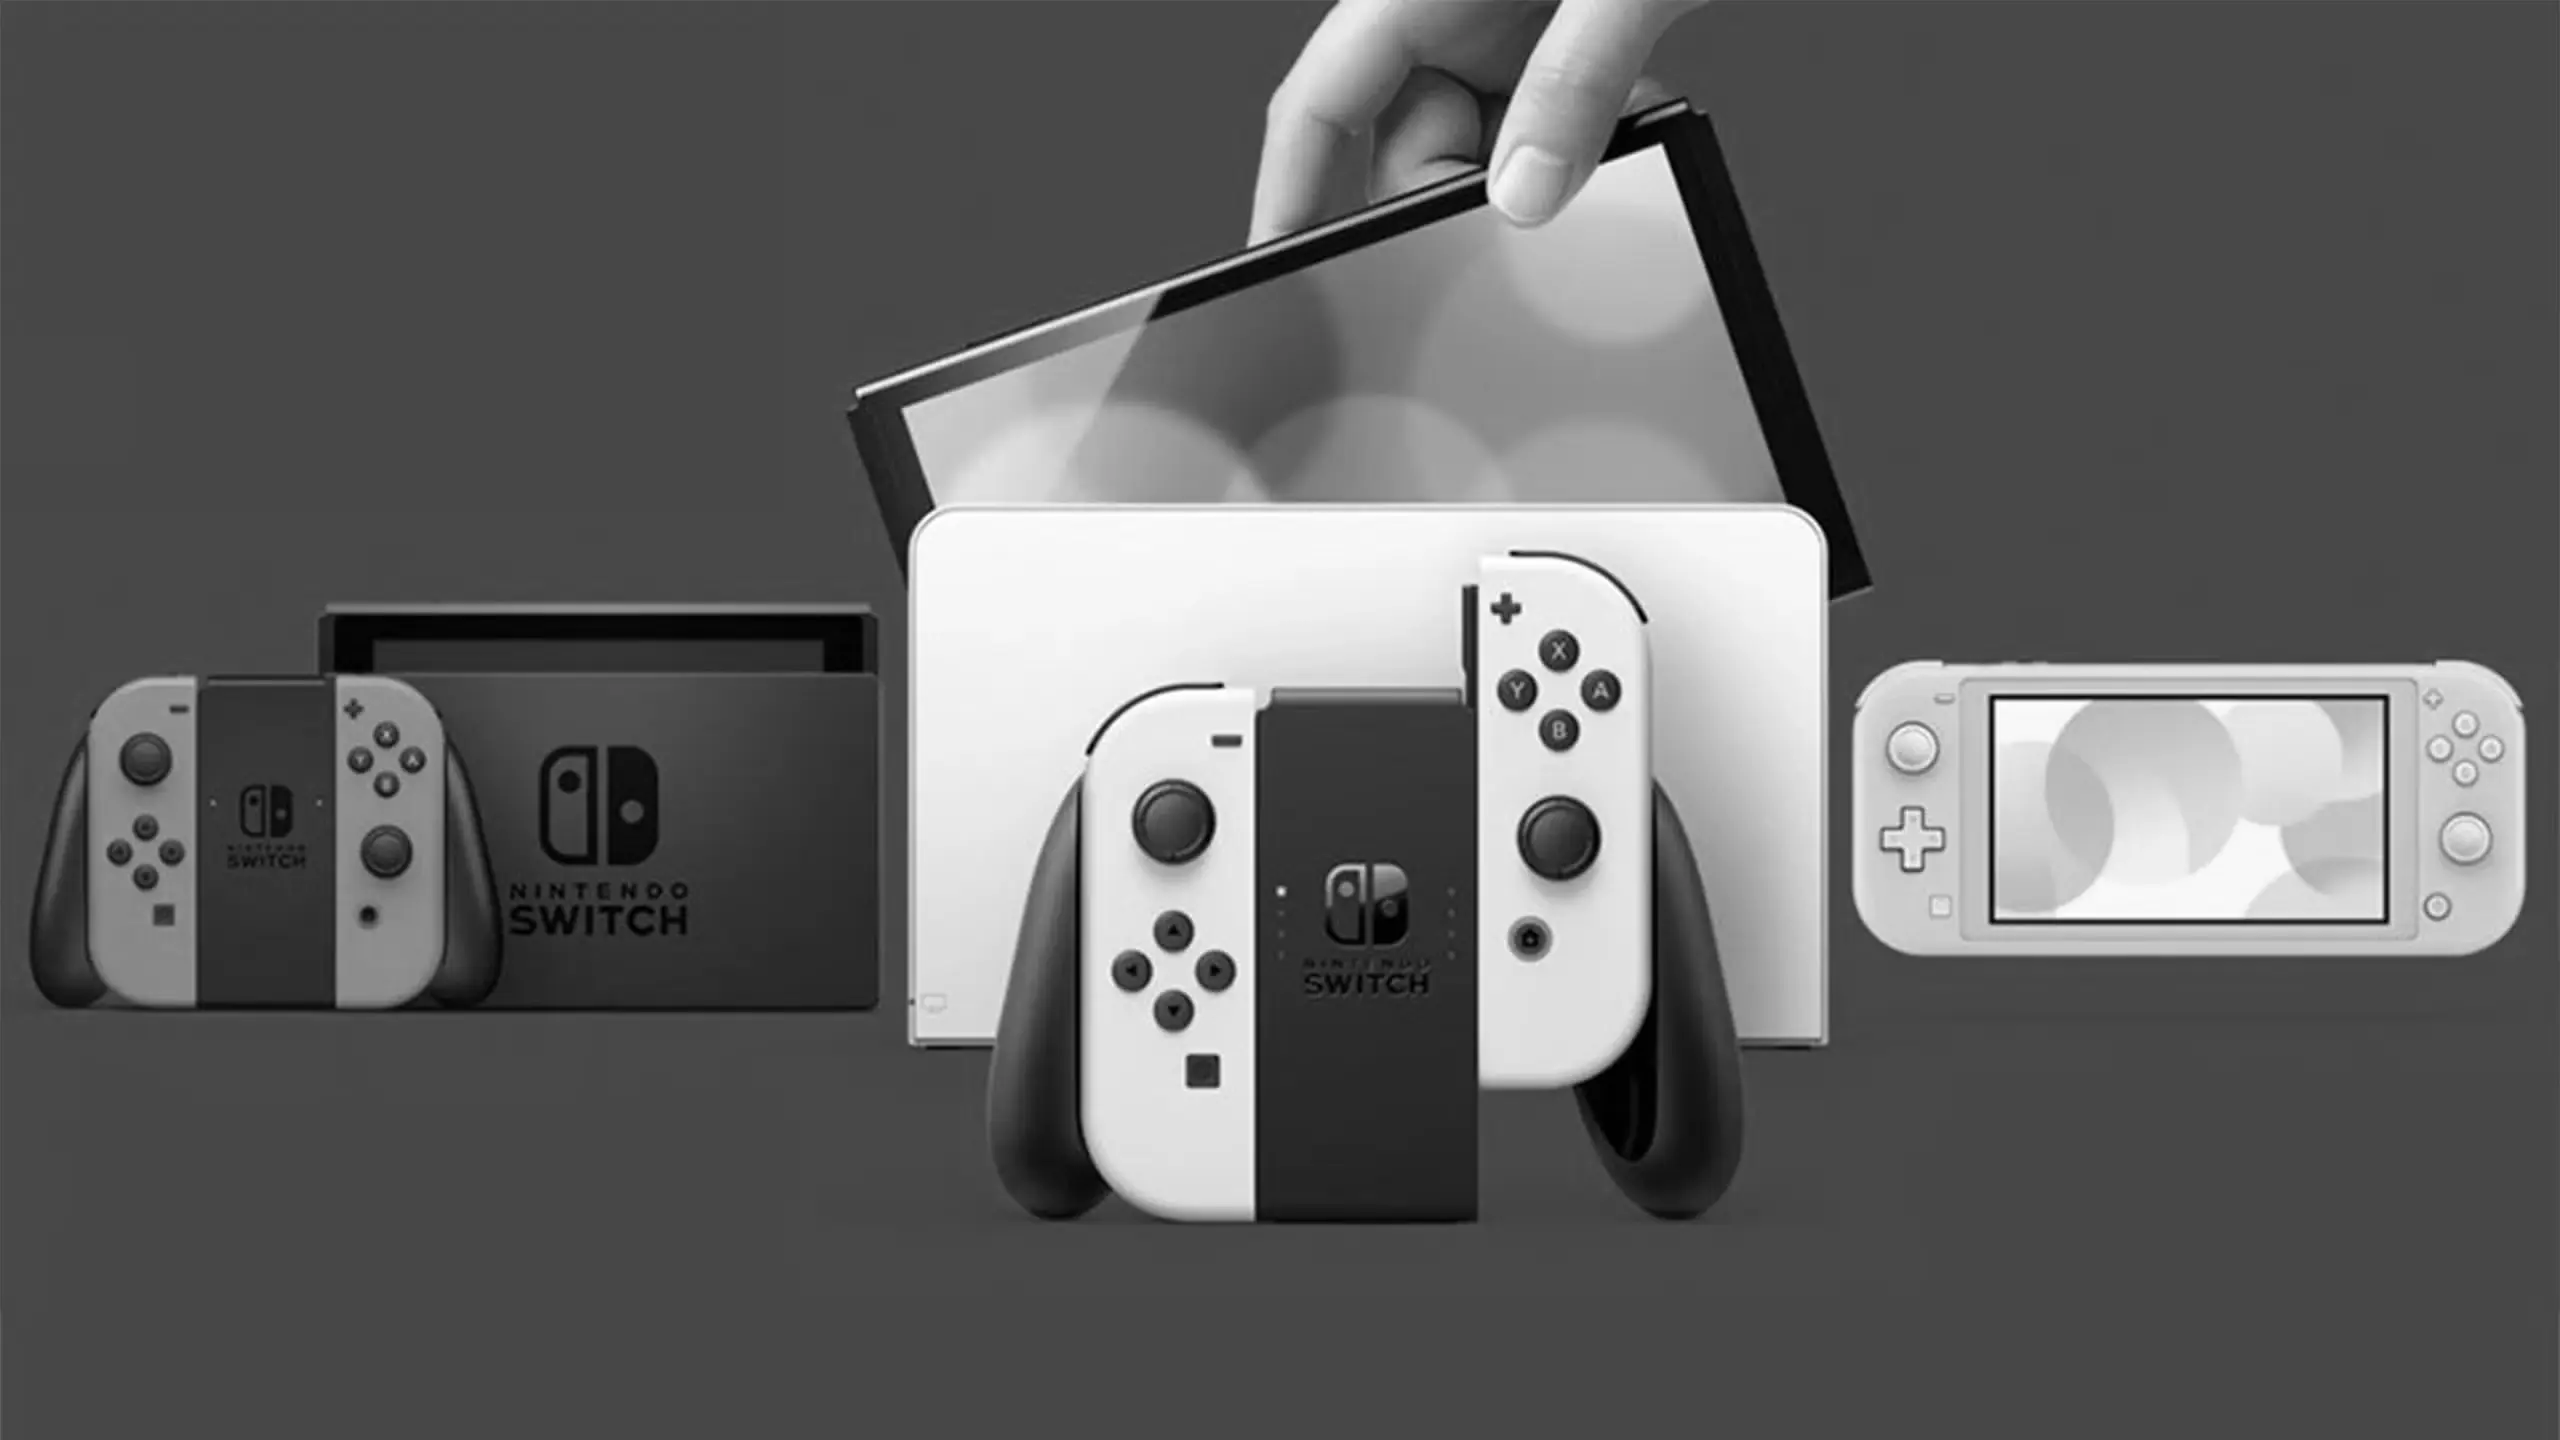
The Nintendo Switch has become one of the most popular gaming consoles around the world. With its unique blend of handheld and console gaming experiences, it’s no wonder so many people enjoy it. However, like any electronic device, the Nintendo Switch can encounter issues that may need fixing. Whether it’s a drifting Joy-Con or a cracked screen, having the right repair tools and replacement parts can make the difference in bringing your console back to life.
Repairing your Nintendo Switch can be a cost-effective way to keep your gaming sessions going without having to purchase a new console. With the right tools and parts, you can resolve many common issues yourself, saving both time and money. Plus, fixing your own device can be a rewarding experience, offering a sense of accomplishment.
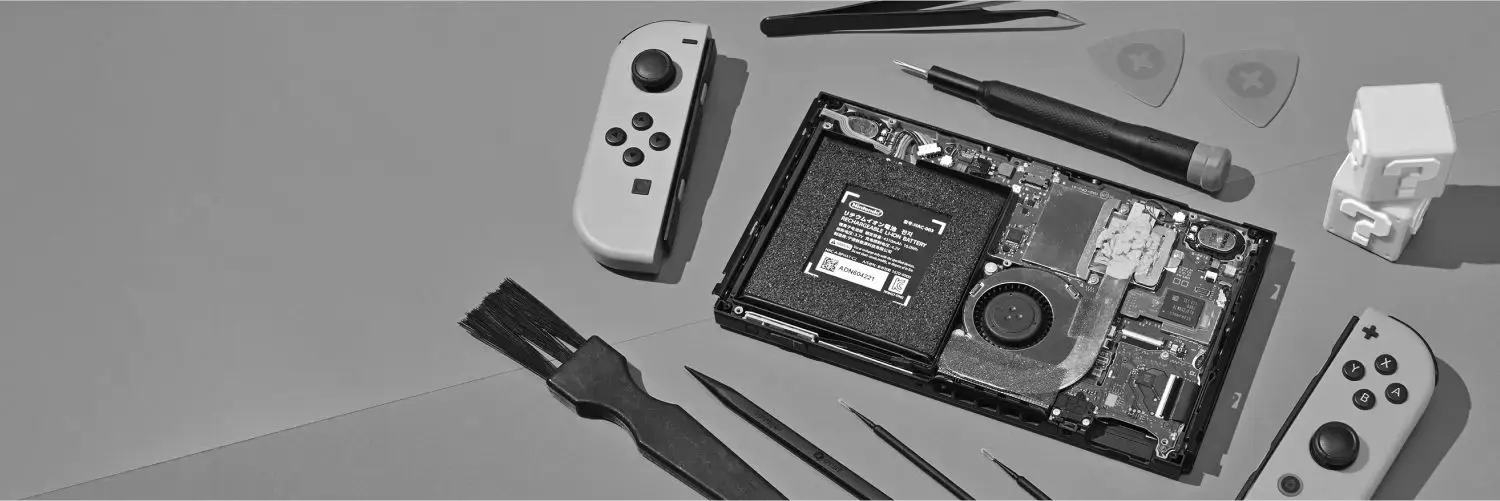
Essential Nintendo Switch Repair Tools
When it comes to fixing your Nintendo Switch, having the right tools is crucial. Here is a list of essential tools you’ll need for various repairs.
Precision Screwdriver Set
A precision screwdriver set is vital for any Nintendo Switch repair. The console and its accessories use tiny screws that require specific screwdrivers for removal. Look for a set that includes both Phillips and tri-wing screwdrivers, as these are commonly used in Nintendo products.
Plastic Opening Tools
To safely open the Nintendo Switch without causing any damage, plastic opening tools are essential. These tools help you pry open the casing gently, avoiding scratches or cracks on the plastic.
Tweezers
Tweezers are incredibly useful for handling small components and connectors inside the console. They allow for precise manipulation of parts, especially when replacing components like the thumbstick or battery.
Replacement Parts for Your Nintendo Switch
Having access to quality replacement parts is just as important as having the right tools. Here are some of the most commonly replaced parts for the Nintendo Switch.
Joy-Con Analog Stick
One of the most common issues with the Nintendo Switch is Joy-Con drift, where the analog stick registers movement without input. Replacing the analog stick can solve this problem. Ensure you purchase a high-quality replacement stick compatible with your Joy-Con model.
Screen Replacement
Accidents happen, and a cracked screen can be a major issue. Replacing the screen requires careful handling, but with the right replacement part, your Switch can look as good as new. Make sure to choose a screen that matches the resolution and size of your original display.
Battery
If your Nintendo Switch is not holding a charge like it used to, it might be time to replace the battery. A new battery can significantly extend the life of your device, giving you more playtime on the go. Ensure the replacement battery is compatible with your specific Switch model.
Step-by-Step Repair Guides
Replacing the Joy-Con Analog Stick
- Gather Your Tools and Replacement Part: You’ll need a precision screwdriver set, tweezers, and a replacement analog stick.
- Remove the Screws: Use the appropriate screwdriver to remove the screws from the back of the Joy-Con.
- Open the Joy-Con: Carefully pry open the casing with plastic opening tools.
- Disconnect the Battery: Use tweezers to disconnect the battery for safety.
- Remove the Old Analog Stick: Unscrew and disconnect the old analog stick.
- Install the New Analog Stick: Connect and secure the new stick in place.
- Reassemble the Joy-Con: Reconnect the battery, close the casing, and replace the screws.
Replacing the Nintendo Switch Screen
- Power Off the Console: Make sure your Switch is completely powered off before starting.
- Remove the Backplate: Use a precision screwdriver to remove the screws from the backplate.
- Disconnect the Battery: Carefully disconnect the battery using tweezers.
- Remove the Broken Screen: Gently pry the screen away from the console using plastic tools.
- Install the New Screen: Place the new screen in position and secure it.
- Reconnect the Battery and Backplate: Reassemble the console by reversing the previous steps.
Tips for Successful Repairs
- Work in a Clean Environment: Ensure your work area is clean and free of static, which can damage electronic components.
- Take Your Time: Rushing through repairs can lead to mistakes. Be patient and meticulous with each step.
- Keep Track of Screws and Parts: Use a small container to keep screws and parts organized.
- Watch Tutorials: Visual guides can be incredibly helpful, especially for complex repairs.
Conclusion
Repairing your Nintendo Switch can be a satisfying and economical way to maintain your gaming setup. With the right tools and replacement parts, you can tackle common issues like Joy-Con drift or screen damage. Remember to follow repair guides closely, take your time, and ensure you’re using compatible components. By doing so, you’ll extend the life of your console and enhance your gaming experience.
Whether you’re a seasoned DIY enthusiast or just getting started, the ability to fix your Nintendo Switch can save you money and improve your technical skills. With practice, you’ll find that many repairs are well within your reach. Happy gaming!